
If you get your nails done every 2-3 weeks, you already know.
You know the difference between a $35 set and an $85 set. You know when the apex is wrong, when the cuticle work is rushed, and when that “nude” is actually streaky.
I’m not going to sit here and tell you a $5 press-on from the drugstore is the same as your tech who takes 90 minutes and gets your shape perfect. It’s not.
But I was spending $140-$170 a month in Jersey City for a gel set + pedicure. That’s $1,680 a year. And it was coming straight out of groceries because my sinking funds weren’t set up.
So I started tracking it. Not to quit self-care – to budget for it properly.
The Real Math Pinterest Never Shows You
Pinterest is full of “caramel nude nails,” “coffee nails ideas,” “raspberry jelly nails,” “almond milky nails” – all trending 300-900% this year. Gorgeous, but no one shows what they cost to keep up.
My real numbers before:
- Gel manicure: $65 + tip = $78 every 2.5 weeks
- Pedicure: $45 + tip = $54 once a month
- Yearly total: ∼$1,680
That’s a Vacation Fund. Or an Emergency Fund. That’s why my budget kept breaking.
So I created a Beauty Sinking Fund in my budget planner. $30/month, separate from House, Car, Gifts. If I go to the salon, it comes from there. If I DIY, whatever I don’t spend rolls over.
That one fund made it sustainable. Not guilt. A budget.
Solution 1: The Press-On That Actually Looks Like Gel (My $15 Solution)
If you’re searching “how to make press-ons look salon” – you’re not alone. Most press-ons look cheap because of the prep, not the nail.
For that caramel nude / coffee nails / iced latte nails Pinterest look:
- Prep like a tech: push cuticles, buff, dehydrate with alcohol
- Size before glue: File the sides so they fit your nail bed with no gap
- Use gel glue, not tabs. Thin line of builder gel on top for that thick, milky almond look
- Shape AFTER they’re on, then one top coat
Brands that pass the test: Glamnetic, Olive & June, BTArtbox soft gel tips
Cost: $15 box = 2 sets = $7.50 per set. Lasts 10-12 days with good prep.
Savings: $1,500/year if you fully switch, $750 if you alternate.
No UV needed – that’s why press-ons are my go-to when my hands are dry or I’ve had a lot of sun. Zero aging risk, and no damage if you remove with oil, not ripping.

Solution 2: At-Home Builder Gel – But UV-Safe (My $25 Solution)
This is for the thick, clean, almond milky look when you hate how press-ons feel.
I bought a $35 UV lamp (one-time), $12 builder gel in a bottle, and $8 cuticle oil.
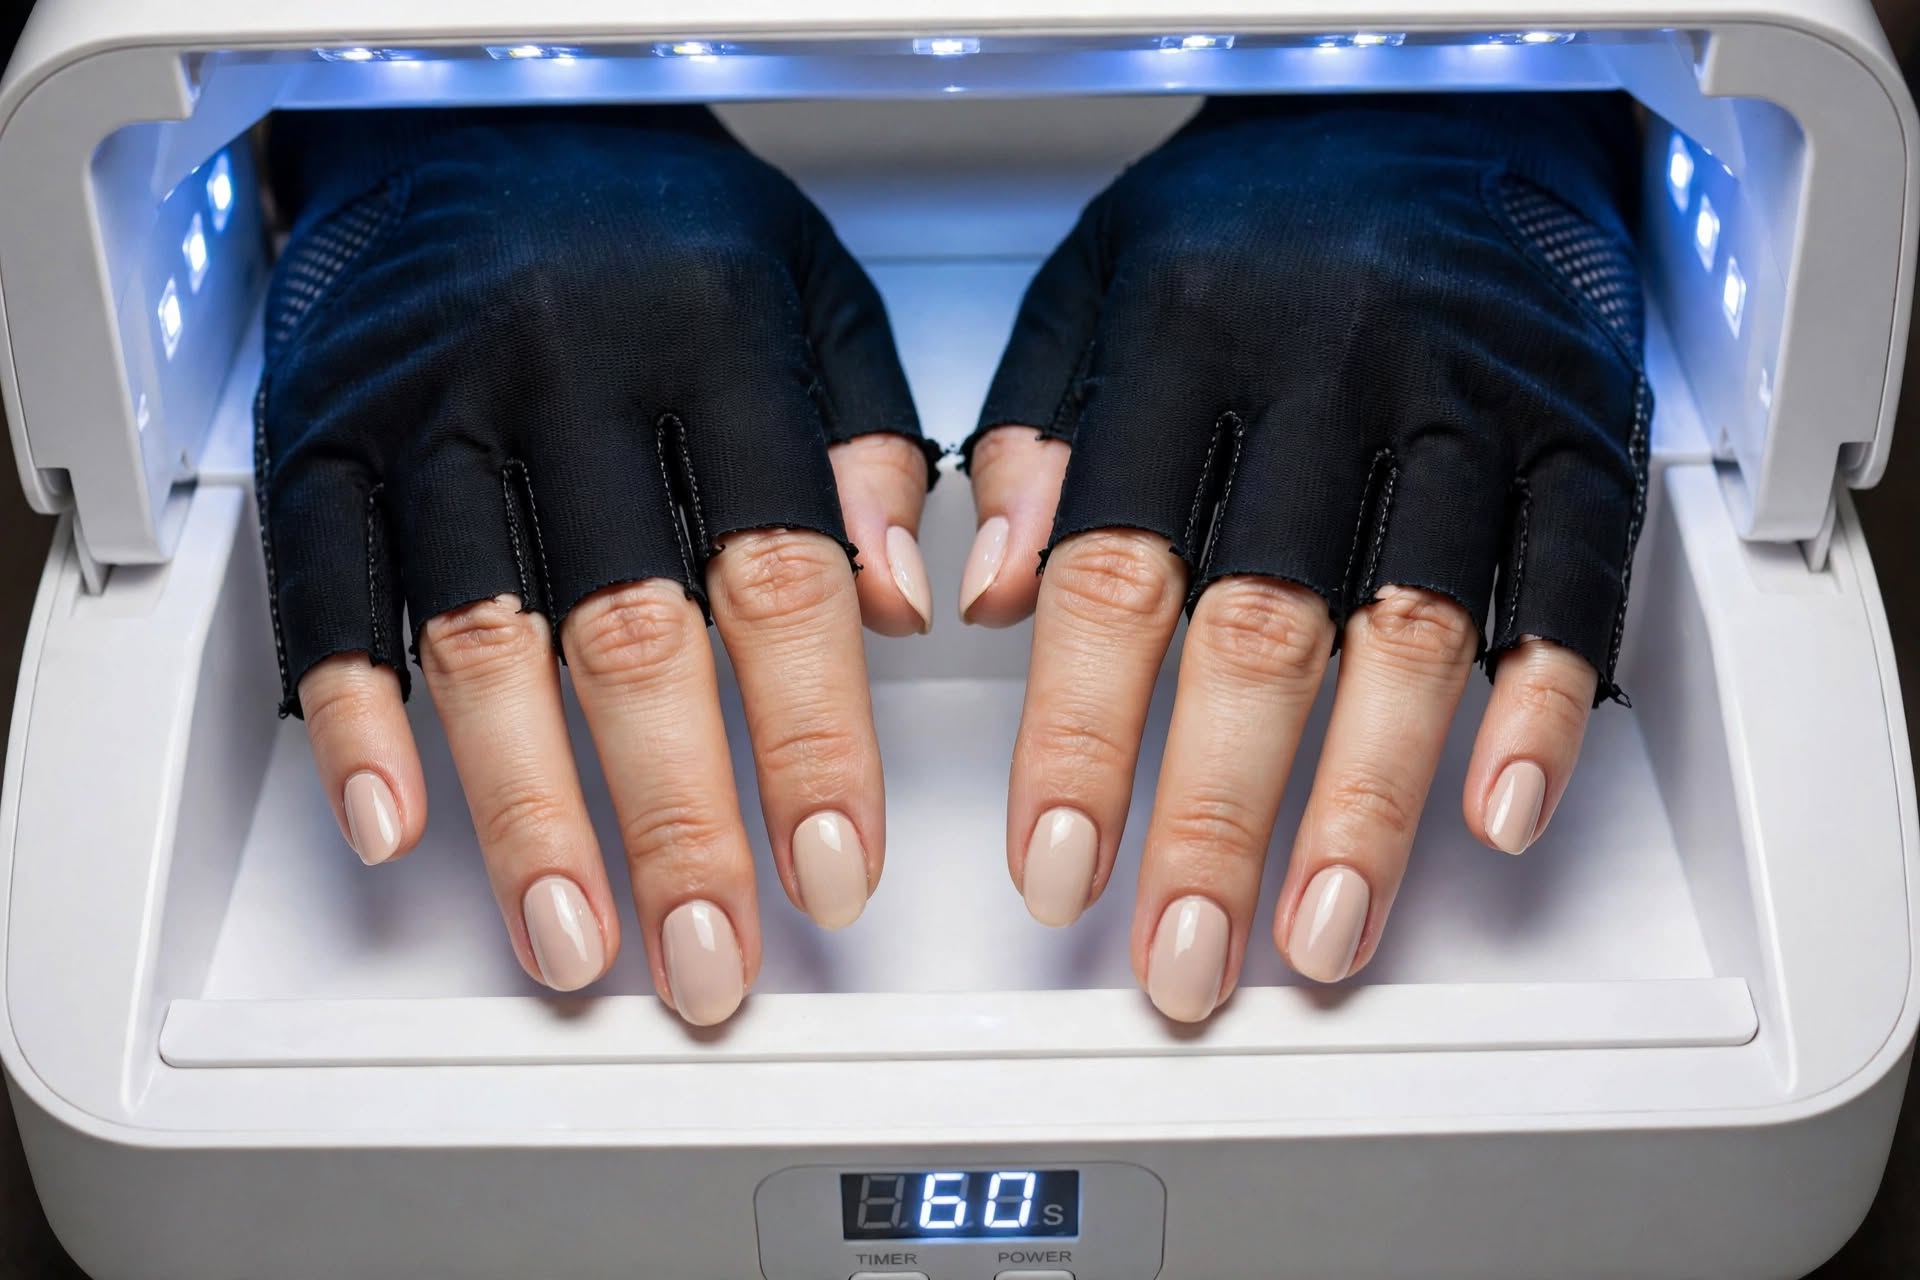
But Pinterest never mentions this: that lamp is UVA – the same UVA that ages your hands. My tech wears gloves and SPF and she’s under it all day. At home, we’re putting the #1 place women show age directly under it for 60-90 seconds per layer, 4-5 times per set.
If we’re doing this to save money and take care of ourselves, it has to make sense.
What I do now, every single time:
- SPF 50+ 20 minutes before: Broad-spectrum SPF 50 on the back of hands, wrists, and fingers. Not the nail itself – just the skin. Let it dry fully.
- UV gloves with fingertips cut off: $8-$12 on Amazon. They block UVA but leave nails exposed. This is my main protection now because SPF sweats off under the lamp.
- Low heat, less time: Cure on low heat mode, 60 sec max. If not cured, add 30 sec, don’t just leave your hands under there.
Total extra cost: $12 once. Peace of mind: worth it.
It takes me 45 minutes on Sunday while I do my weekly budget check. Nails under the lamp, SPF on, gloves on. That’s my real womencare ritual.

Safety Note: I’m not a dermatologist or nail tech, just sharing what worked for me. UV lamps emit UVA radiation that can age skin with frequent use. If you DIY gel, use SPF 50+ or UV gloves and follow your lamp’s instructions. If you have skin sensitivity or do gel every week without breaks, talk to your dermatologist first. Press-ons give you the same savings with no UV exposure at all.
Solution 3: The Stretch Strategy (If You Love Your Tech)
You don’t have to quit your nail tech. This saved me the most money without sacrificing quality.
Instead of every 2 weeks, I go every 4 weeks.
- Weeks 1-3: Clear builder overlay or press-on
- Week 4: Full salon set
I tell my tech: “I’m stretching, can we do a shorter shape so it grows out better?” Good techs love this – they know you respect their work.
Math: $78 x 12 = $936/year instead of $1,872. You save $936 and still get that perfect shape.
And you budget it clean: Your Beauty Sinking Fund pays $40 twice a month, whether you go or not. If you don’t go, it stacks.
So What’s Actually Worth It?
I’m not anti-salon. I’m pro-budget that lets you keep going.
If you love the experience, the 90 minutes of peace – keep it. Just put it in a sinking fund so you’re not stealing from your Emergency Fund to pay for it.
Start here today:
- Check your bank – how much did you spend on nails in the last 90 days? Divide by 3. That’s your real monthly nail budget.
- Open a Beauty Sinking Fund in your tracker. Put that number in.
- Try ONE solution above for your next set, not forever. See how you feel.
You know your nails better than any blog does. You know what you’re willing to compromise on and what you’re not. My job here at Infolynk isn’t to tell you press-ons are the same as salon – it’s to show you how to afford whichever version makes you feel put-together without breaking your budget.
That’s financial success for me: practical, not perfect.
My Budget System:
I track all of this in my monthly budget – my Beauty Sinking Fund is right next to House, Car, and Vacation. Browse all my budgeting tips in my budgeting and personal-finance .
Leave a Reply